May 10, 2020 Ethereum Eth2 Prysm Beacon node Validator node
Eth2 Staking procedure
- Setup beacon node
- Setup validator
- Send 32 Goerli ETH to the designated staking contract
Eth2 Beacon node setup
- Create a working directory and enter it:
mkdir /apps/prysm && cd /apps/prysm
- Startup beacon node
/apps/prysm/prysm.sh beacon-chain --datadir=/apps/prysm/beacon-chain
Eth2 Validator setup
- Startup beacon node and keep it running in the background if not already
/apps/prysm/prysm.sh beacon-chain --datadir=/apps/prysm/beacon-chain
- Generate a new validator keypair:
/apps/prysm/prysm.sh validator accounts create --keystore-path=/apps/prysm/validator/ --enable-account-metrics
You will be prompted for a passphrase. This passphrase secures your keystore. For this example I will set mine to 123.
- When script completes, you will see a hex output similar to the following containing 842 characters:
 ========================Raw Transaction Data=======================

 0x228951180000000000000000000000000000000000000....

 ===================================================================
This hex string is important data that we will need to send as part of our staking deposity txn. So, copy the value between the === and past it to a file somewhere, we’ll be using it again soon.
- Now we’ll create the file we use to point our validator to our keystore and unlock it. The
path value should match the keystore path you set in step 1, and the passphrase value should match the passphrase you set in step 1.
cat >> /apps/prysm/validator/keystore.json << EOF
{
  "path": "/apps/prysm/validator",
  "passphrase": "123"
}
EOF
mkdir /apps/prysm && cd /apps/prysm
/apps/prysm/prysm.sh beacon-chain --datadir=/apps/prysm/beacon-chain
/apps/prysm/prysm.sh beacon-chain --datadir=/apps/prysm/beacon-chain
/apps/prysm/prysm.sh validator accounts create --keystore-path=/apps/prysm/validator/ --enable-account-metrics
You will be prompted for a passphrase. This passphrase secures your keystore. For this example I will set mine to 123.
========================Raw Transaction Data=======================
0x228951180000000000000000000000000000000000000....
===================================================================
This hex string is important data that we will need to send as part of our staking deposity txn. So, copy the value between the === and past it to a file somewhere, we’ll be using it again soon.
path value should match the keystore path you set in step 1, and the passphrase value should match the passphrase you set in step 1.
cat >> /apps/prysm/validator/keystore.json << EOF
{
"path": "/apps/prysm/validator",
"passphrase": "123"
}
EOF
Now let’s launch our validator with the following command. Make sure to leave this terminal open or else the process will be killed. Note: The --enable-account-metrics option will allow our logs to be read by Prometheus - more on that later.
/apps/prysm/prysm.sh validator --keymanager=keystore --keymanageropts=/apps/prysm/validator/keystore.json --enable-account-metrics
Okay, so far we have
- Set up and started our beacon node
- Created a validator account to be used on the test net
- Collected the hex
Raw Transaction Dataneeded to send as part of our staking deposit - Stored our keys in an passphrase-protected keystore
Sending 32 ETH to validator Contract
The final thing we need to do is send our 32 ETH to the staking contract on the Goerli testnet. As you may know, 32 ETH is the minimum number of Ether required to stake on the Eth2 chain. To do this, we can use any wallet software that allows us to send ETH to Goerli testnet with a hex. For this demo we’ll use Metamask.
- Obtain 32 Goerli ETH by selecting Metamask in step 2 of this process.
- Once you’ve got your gETH, send it to teh adderess
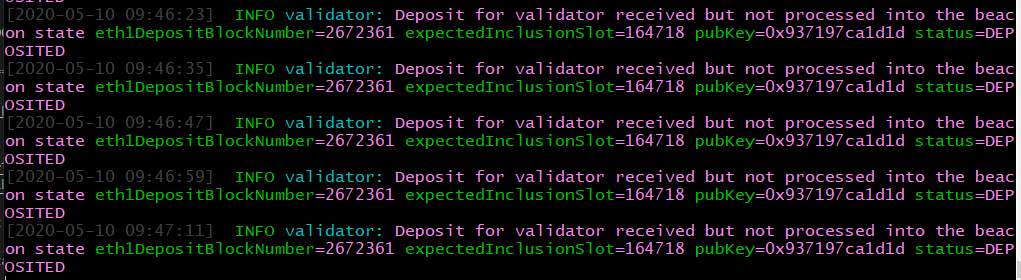
0x5cA1e00004366Ac85f492887AAab12d0e6418876with you hex text from the step above pasted in to theHex Datafield. - Once this is complete you will begin a 4-8 hour waiting period before the transaction is detected by your validator node. For now, you should see the logs in your validator node change from this message:

To this message:
And after several hours of waiting, the beacon state will update and you’ll see this